
Great pride comes from taking on a project that you love. Nothing could give water enthusiasts more pleasure than building boats or floating docks than walking into a dealer’s premise and buying a ready-made boat. Purchasing a new boat sure gives pride, but having one built by you has more meaning.
In this guide, we’ll take you through the procedure of making a wooden boat in your backyard.
What Kind of Wood Do You Need?
Natural Woods
It includes hardwoods such as teak, cedar, and tuatara, famous for natural chemicals to ward off marine creatures. Oak is perfect for building hulls and keels as they are exposed to water, but you cannot use Pine for the purpose as it rots quickly. Pine can be used for the interior structure as it features a nice finish and is lightweight.
Plywood
Plywood usually has spaces between the layers, trapping moisture and fastening rotting. Most boat builders use it as it is cost-effective and can easily bend into different shapes. If you’re also considering using it, invest in marine plywood. By using a lot of waterproof glue, you can ensure no moisture gets in between the layers.
We’d suggest coating plywood with boiled linseed oil or epoxy resin to maintain its structure for a long time. Please keep away from varnish as it has high water content and fastens rotting.
New Woods
Hardwood is abrasion-resistant and varies depending on the density; it is best for the exterior, while softwood is perfect for the interiors. Other popular woods include Azobe, Iroko, Mahogany, Okoume Keruing, and Merbau. If you’re using tropical ones, ensure they are certified by FSC. If using teak or iroko, use chemical oil stripping agents as it weakens the joints.
Procedure for Building a Small Wooden Boat:
Step 1: Collect All Materials
Collect all the required materials, including screws, planks, urethane glue, floorboards, epoxy putty, fiberglass tape, hand plane, belt sander, rasp, cock sandpaper, and type 2 EV charger as you’ll be using your vehicle a lot.
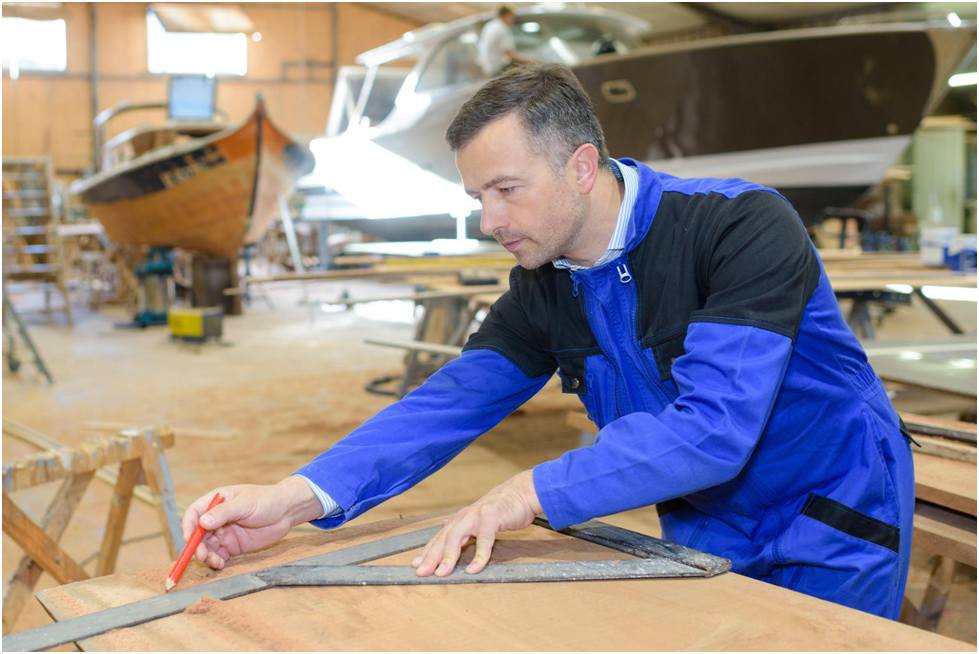
Step 2: Prepare a Sketch
Prepare a sketch of the desired design for your boat by taking help from a boat builder. Once you’re done with it, create its cardboard mockup or buy plans online.
Step 3: Create the Center Rib
Glue all the hardwood floorboards together to create a transom and cut out the shape you want. Paste the transom between the wooden pieces and clamp it tight to ensure it is flat. You can use kitchen wrap to keep the pieces glued to the transom. Now sand them for the center rib, glue, and clamp them together before crewing. Once you’re sure it is dry, cut out the keel, chines, and inwales.
Step 4: Design the Frame
Using clamps, angle brackets, chines, and inwales creates a frame. Then add a thwart to it and spend a lot of time getting the shape right. Once you’re sure you’re done, screw and glue the inwales and chines in the transom, center rib, and stem of the boat.
Step 5: Add Finer Details
After creating the basic frame, it’s time to add finer details. You can do this by measuring the other side where the ribs are added and then shaping each of them together. After this, fit them to the marked positions to ensure the boat maintains symmetry.
Use cardboard to create a mockup of the ribs for the bottom part and cut the wooden ribs.
Step 6: Add Everything Else
Once you’re done with the above steps, it’s time to add a keel strip and put the rails for seating. At this stage, be careful about filling all the small spaces with epoxy putty and screw rebate.
Step 7: Add Planks & Seats
For cutting plywood accordingly:
- Get cardboard and attach it to the sides.
- After cutting the wood, add glue to the frame and clasp the plywood every 200-300mm.
- Make holes for screwing the plywood and ensure you seal all the spaces.
- Add planks for seating and attach them to the keel to keep the seats from flexing.
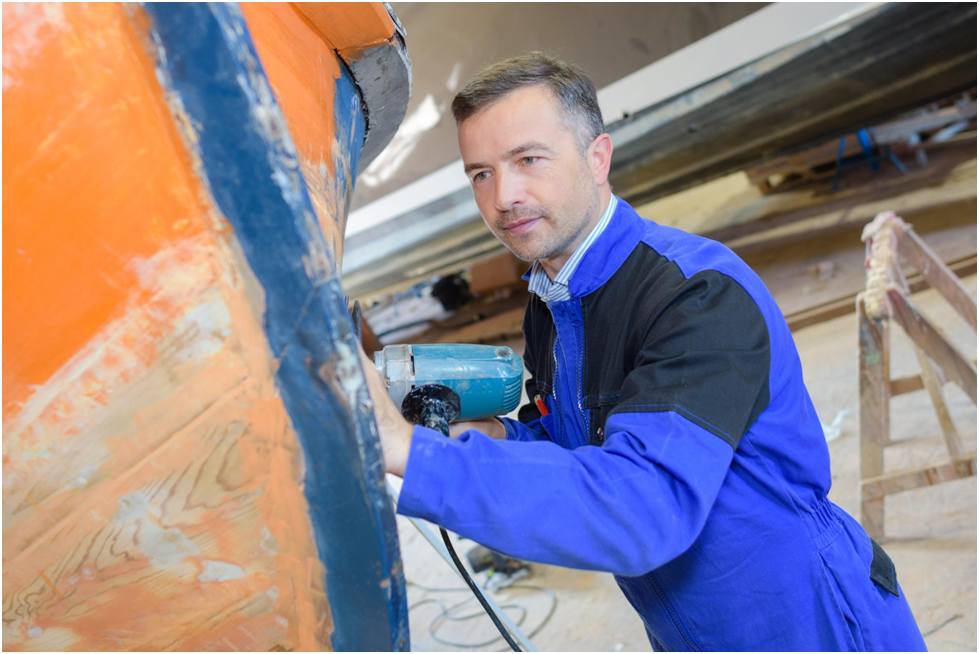
Step 8: Finish With Detailing
Add epoxy to any space and sand it flat. Turn the boat upside down to add a layer of fiberglass. Using a brush, add a layer of epoxy resin on the exterior part and let it dry for a day or two. Now is the time to get your sanding equipment, as a boat must have a smooth surface before you paint on it. Contact a gate valve manufacturer to buy quality valves for your boat.
Conclusion
While you can’t certainly build an advanced watercraft in your backyard, you can make a simple boat. We hope this article helps you build a small craft for your nearby adventures on the water.